Creating a Successful Lesson Plan
Lesson planning is an essential aspect of effective teaching. It allows teachers to structure their lessons, set clear learning objectives, and ensure that students are engaged and challenged throughout the class. In this blog post, we will provide a step-by-step guide on how to make a lesson plan that will help you deliver high-quality, engaging lessons.
Step 1: Define your learning objectives
Learning objectives are the foundation of your lesson plan. They define what you want your students to learn from your lesson. When creating your learning objectives, make sure they are specific, measurable, achievable, relevant, and time-bound (SMART). Here’s an example of a SMART learning objective:
“By the end of this lesson, students will be able to identify and explain the different types of renewable energy sources and their benefits.”
Step 2: Choose your teaching methods
Once you have defined your learning objectives, the next step is to choose your teaching methods. Different teaching methods are suitable for different types of learning objectives and student learning styles. For example, if your learning objective is to encourage class discussion, you might choose a Socratic seminar or debate format. If your objective is to teach students how to solve a math problem, you might choose a guided practice format. Here are some practical examples of teaching methods:
- Lecture: You present information to the class, often using visual aids, such as PowerPoint presentations or videos.
- Discussion: You facilitate a class discussion on a particular topic, allowing students to share their perspectives and ideas.
- Group work: You divide the class into small groups and assign them a task to complete together.
- Hands-on activities: You give students an activity to complete that requires them to use physical materials or tools.
Step 3: Prepare your materials
After choosing your teaching methods, the next step is to prepare your materials. These materials can include handouts, worksheets, multimedia presentations, or any other resources that you will use to support your lesson. When preparing your materials, make sure they are engaging, relevant, and aligned with your learning objectives. Here are some practical examples of materials you might use:
- Handouts: You provide students with a written summary of key points or a worksheet to complete.
- Multimedia presentations: You use visual aids such as PowerPoint slides, videos, or interactive whiteboards to illustrate key concepts.
- Props: You use physical objects such as models, maps, or manipulatives to teach a concept.
- Online resources: You use online resources such as educational videos, simulations, or interactive games to reinforce learning.
Step 4: Plan your assessments
Assessments are an essential part of any lesson plan. They allow you to evaluate your students’ understanding and progress towards your learning objectives. When planning your assessments, make sure they align with your learning objectives and are suitable for your students’ learning styles. Here are some practical examples of assessments:
- Quizzes: You give students a short quiz to test their understanding of key concepts.
- Projects: You assign students a project to complete that requires them to apply the knowledge they’ve learned.
- Presentations: You ask students to present their ideas or solutions to the class.
- Tests: You give students a comprehensive test at the end of a unit or semester.
Step 5: Define your timing and pacing
Timing and pacing are critical to the success of your lesson. Make sure that you allocate enough time for each activity and have a clear idea of how long each part of your lesson will take. Also, make sure that you pace your lesson appropriately to ensure that students stay engaged and focused throughout the class. Here are some practical tips for timing and pacing:
- Use a timer: Use a timer to keep track of time for each activity and make sure you’re staying on schedule.
- Allow for flexibility: Be prepared to adjust your pacing or timing if needed based on your students’ needs.
- Break up the lesson: Break up your lesson into shorter segments, with breaks in between to help students stay engaged.
Step 6: Plan for differentiation
Finally, plan for differentiation in your lesson plan. Differentiation means tailoring your instruction to meet the diverse needs of your students. This can include adapting your teaching methods, materials, or assessments to accommodate different learning styles, abilities, or interests. Here are some practical examples of differentiation:
- Providing additional resources: You provide additional resources such as readings or videos for students who need extra help or challenge.
- Grouping students: You group students based on their abilities or interests and provide different activities or tasks for each group.
- Modifying assessments: You modify assessments to accommodate different learning styles or abilities. For example, you might allow students to choose between a written essay or a multimedia presentation.
- Providing accommodations: You provide accommodations for students with special needs or disabilities, such as extra time or a quieter workspace.
By following these six steps, you can create a comprehensive and effective lesson plan that engages your students and helps them achieve your learning objectives. Remember to be flexible and adjust your plan as needed based on your students’ needs and feedback. With practice and experience, you’ll become a master at creating lesson plans that inspire and empower your students to learn and grow.
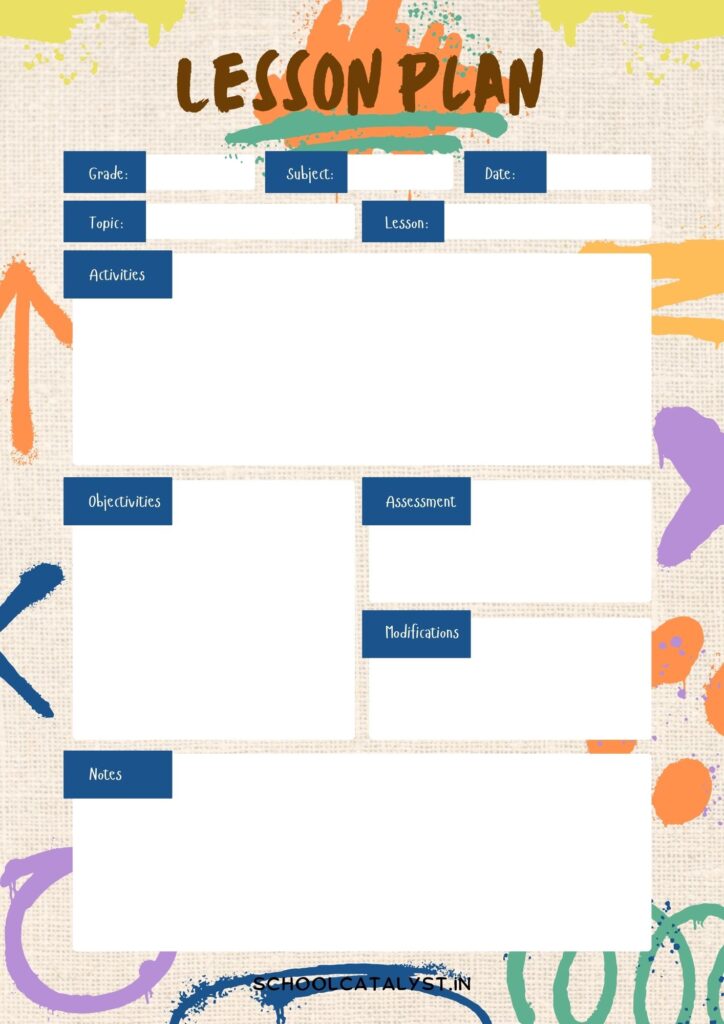
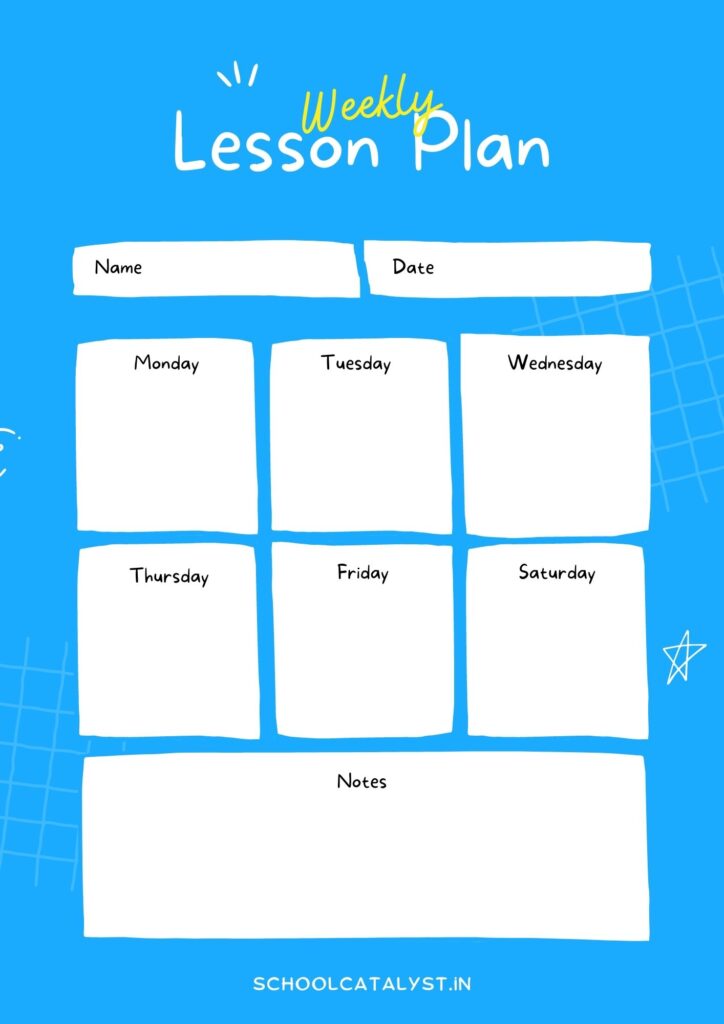
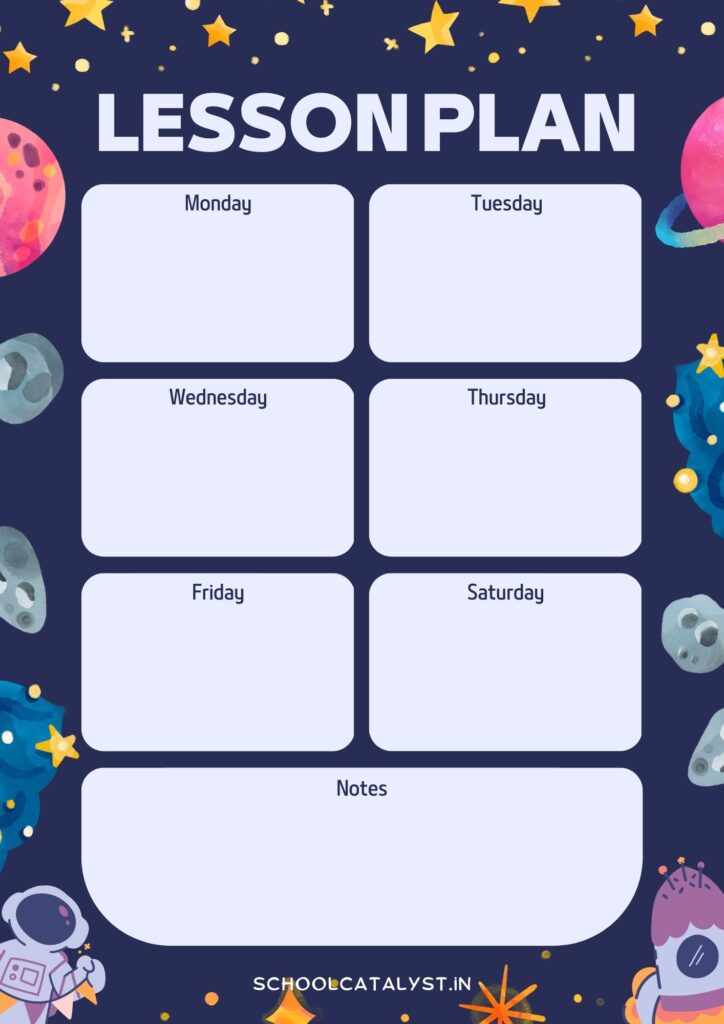
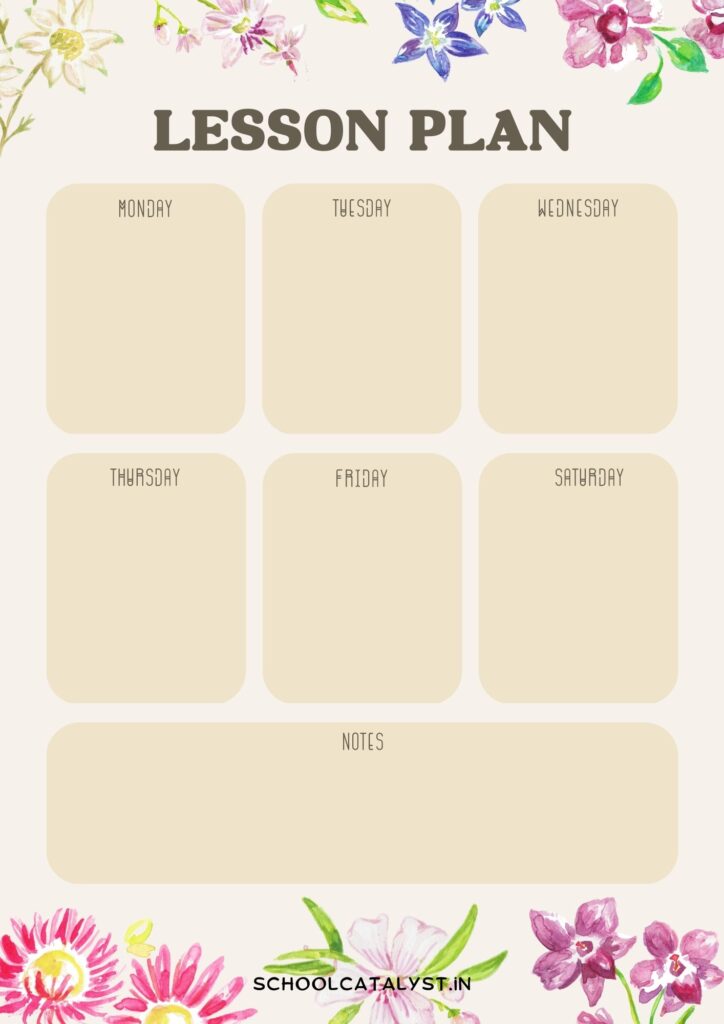
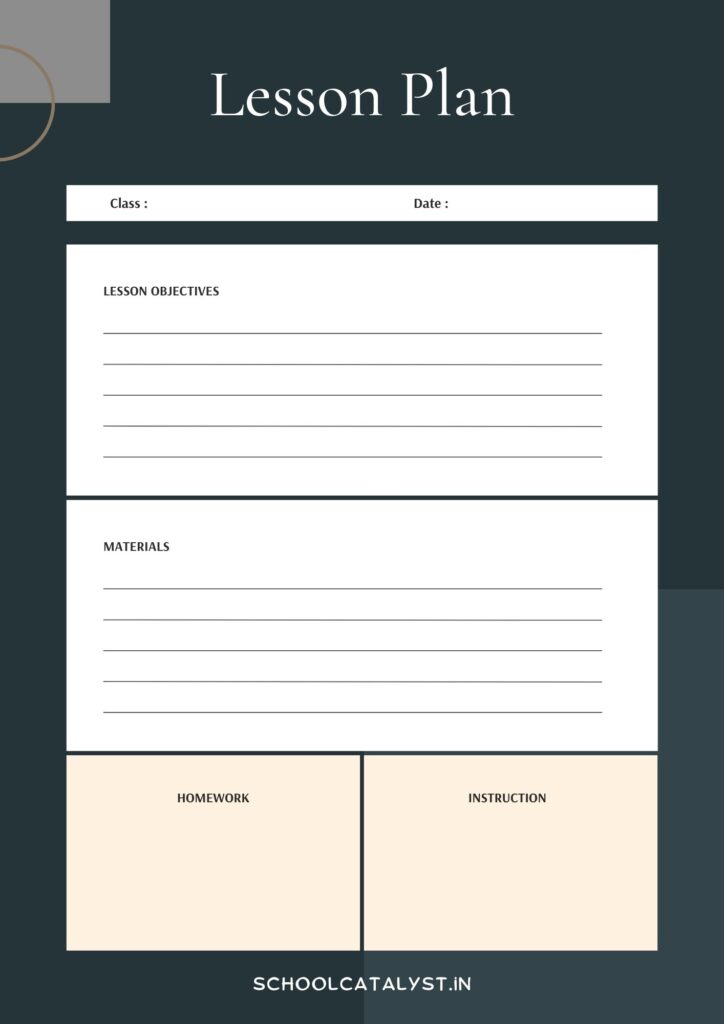
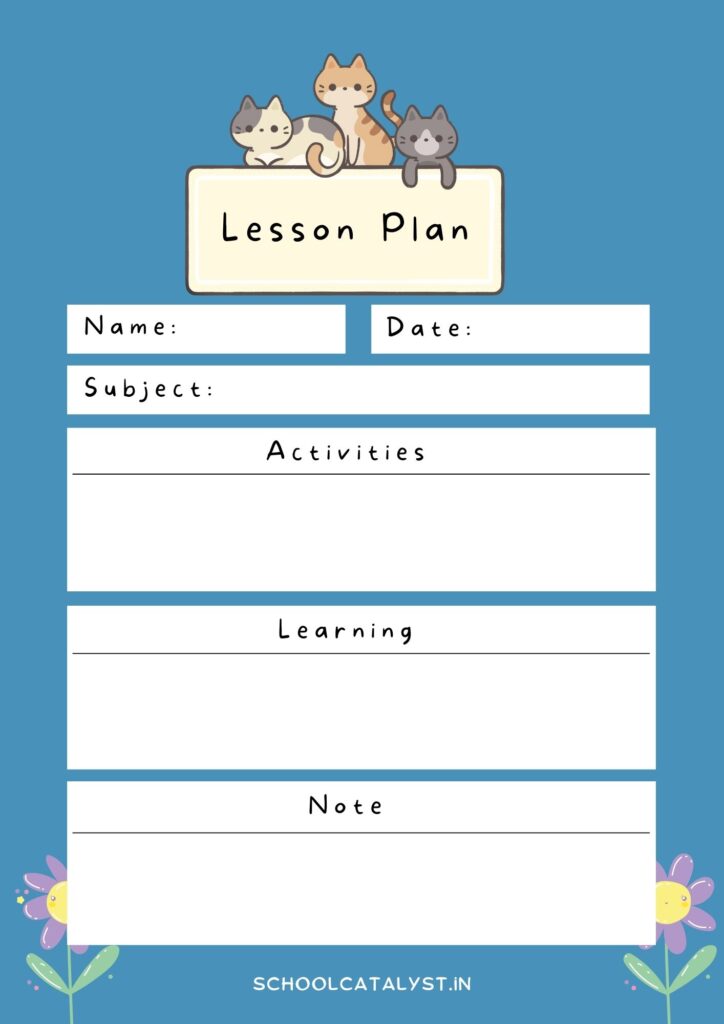
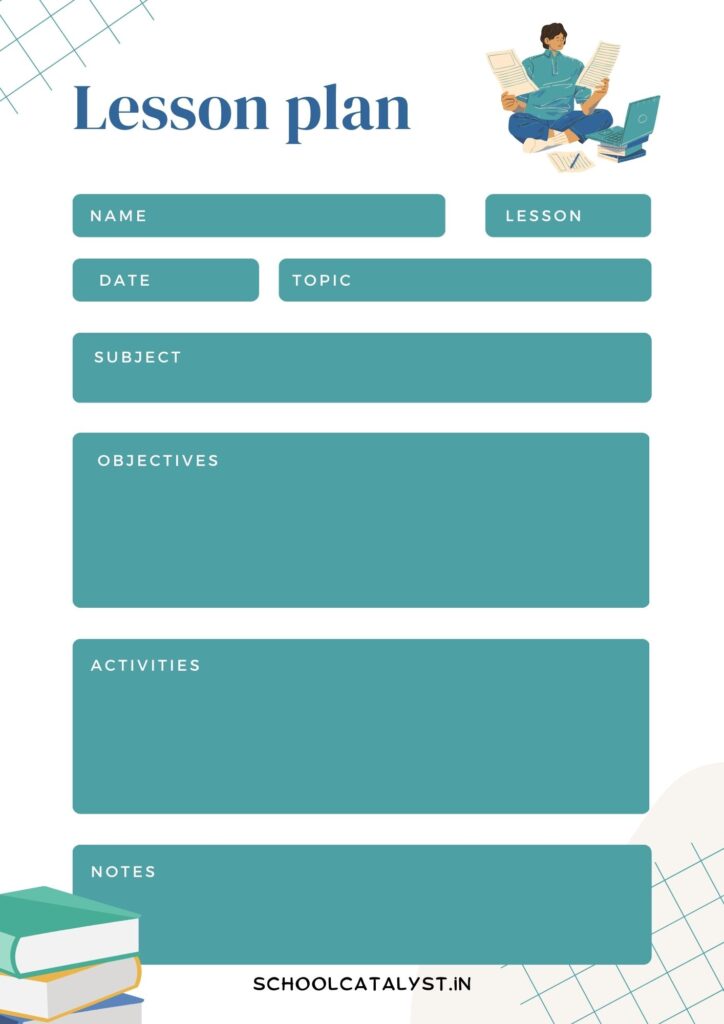
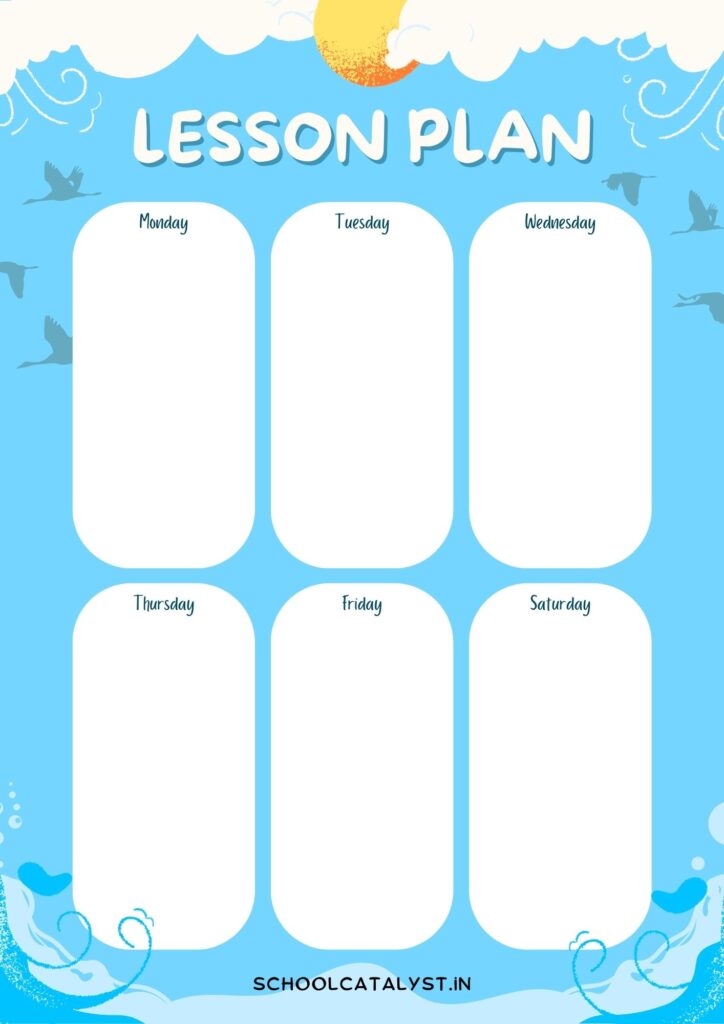
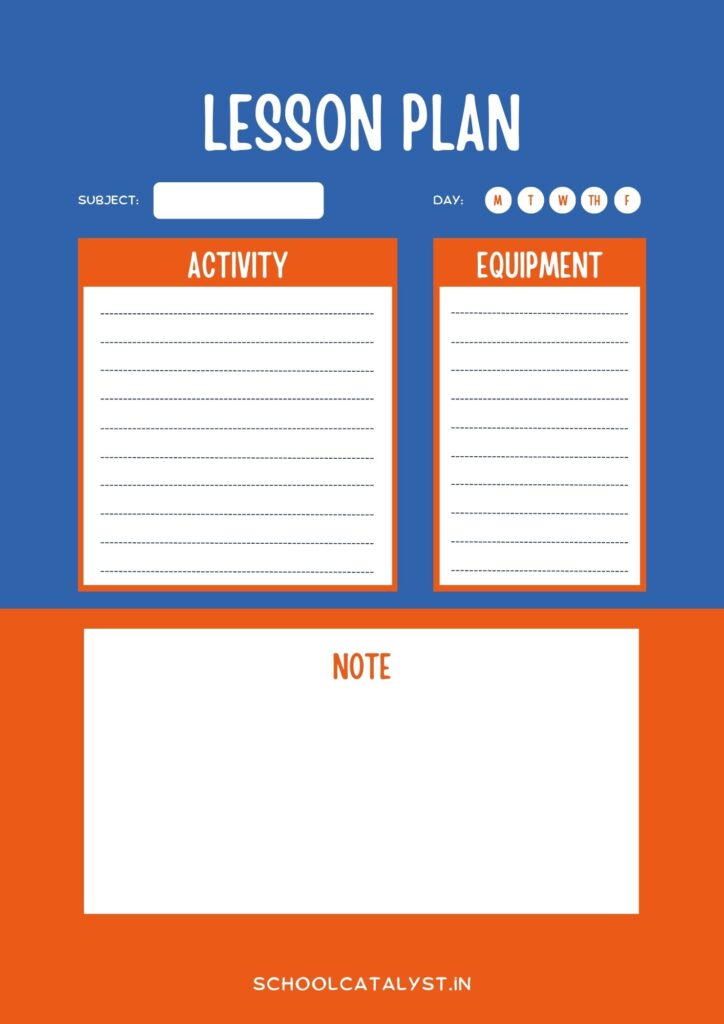
Use these free templates to make your Lesson Plan
